Introduction
SAT-PASS a unique solution for all your needs for Space Mission Design and Analysis.
Requirement
To get started contact us via www.deltavrobo.com or email at naushad@deltavrobo.com and within 48 hours a customized link, username and password will be sent to the user via email.
Installation:
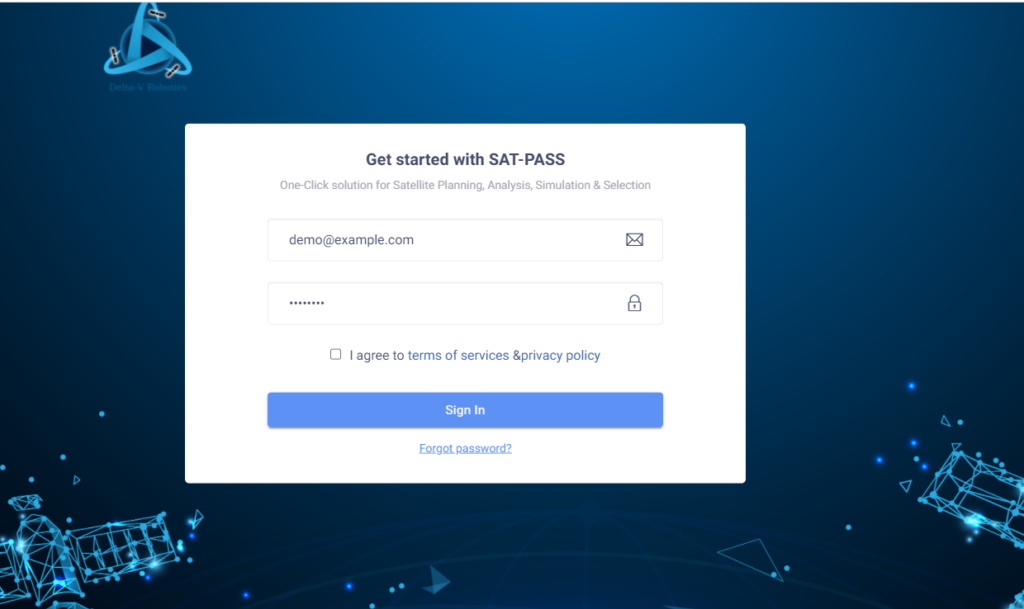
This is a cloud-based application, hence no installation is required. Simply click on the link provided to you on email and key in the username and password and you will get started.

Step 1: Overview page
- Click on the card called “Digital Prototyping”
Simulation- Home Page: This page is providing summarized information at a glance such as space used, recent activities and which simulation is running. No user action is required here.
Simulation-My Simulation: To view the list of simulation created, please click here. You can download the list in csv and also filter here based on simulation name or created date. No user action is required here
Step 2: Simulation-New Simulation
- Create a simulation by putting in Mission Name and Description (free text fields this is for reference only) .Then click next
- If a mission is already created then select mission from right side and then click on next.
- Once Mission is created create simulation by putting in Simulation Name and Description (free text fields this is for reference only) and start and end date.
Step 3: Simulation-Simulate
Configuration: This tab will allow user to configure parameters of the various modules present in Block collection.
Step 3.1: Drag and Drop blocks, connect two block and change values.
- Click on the hamburger icon (three lines), and you will see the component collection in form of blocks. Every block has input port (on left side) and output port (on right side).
- To use the block: Drag the Block named “Propagator” and drop in the grid screen. This “Propagator” will help you to simulate orbit propagation. A satellite is configured in “Propagator” block itself.
- To change any values in the block click on the wrench icon and a form will pop up, this form has default values, you can change and update as per the need.
- To connect it with another block example “connecting propagator to magnetometer, drag and drop block magnetometer in the grid and using propagator output port connect to the magnetometer input port.
Important Note: Blocks input port has to be connected to an output port, this is condition is valid for all pot except propagator
Step 3.2: Run, save and Versioning of Simulation
- To add ground station click on the plus icon(near satellite icon) and a form will pop up.
- Once the configuration is completed click on the save icon. Save icon helps you to save the configuration for later use. The date and time when the configuration is saved are used for versioning as seen in the date and time dropdown at the extreme right side.
- Now run the simulation by clicking on the run icon.
Step 4: Simulation-Simulate
Visualization: This tab allows user to see 3D visualization
- Once the simulation is run in these tab user can see 3d visualization of earth and orbit behaviour based on the configuration provided in the previous tab.
- On the right side, the user will see the status and progress of the simulation, if any error message comes it can also be seen here.
- For controlling animation (based on time) user can use the wheel on the left side
Step 4: Simulation-Simulate
Analysis: This tab allows user to analyze the data based on the completed simulation.
- Once the simulation is completed click on the analysis tab. Here on the left side, there is a tree structure that shows the versioning of simulation, satellite name and inbuilt analysis
- The lowest grain for the tree structure (example: position, velocity etc.) need to be drag and drop in the drop area.
- Within few minutes a CSV will be generated and the user can download it.
- User can create multiple sheets for multiple analysis and can also delete the sheet if not required. If you want to rename the sheet just right click and the user can rename the sheet for reference.

